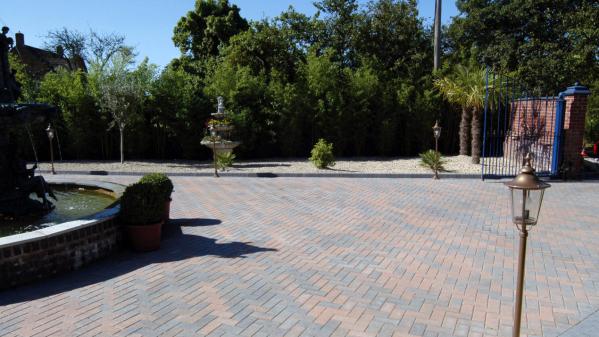
In this guide, we will show you how to point porcelain paving joints with exterior grout. Pointing your porcelain paving joints with exterior grout will finish the look of your patio and provide the waterproof protection to the paving joints.
Video guide: How to grout patio porcelain paving
Why do you need to grout your patio paving joints?
Grouting the joints is an important step in your patio installation. Exterior paving grout serves four main functions:
- It provides a waterproof seal in the joint, preventing water getting into joints and damaging the laying course through frost-action or chemical erosion.
- Exterior grout is slightly flexible/elastic, so it behaves as an expansion joint, compressing in hot weather when the slabs expand. Having this protective and flexible material in the joints prevents the slabs from directly touching one another (contact pressure), where their rubbing together and movement can cause spalling, shaling and chipping of the slab’s edge if not suitable spaced.
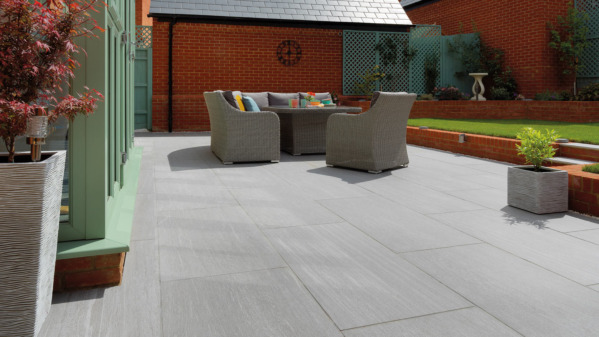
- Grouting is the finishing touch, providing visual appeal and completing the look of your porcelain patio.
- Grouting the joints deters nature (flora and fauna) from springing up through the joints or burrowing down! You don’t want grass popping up in your patio or ants making it their home, so grouting helps prevent these types of issues.
What width should porcelain paving joints be?
The two most common questions we’re asked regarding jointing for porcelain paving are:
- Can I lay the slabs touching together?
No. If you butt-joint the slabs flush together, they will be damaged through contact pressure (which can cause spalling, shaling and chipping on the edge of the slabs).
- What size should the joints be?
The minimum recommended width for a joint is 3 mm. This will give enough compression space for thermal expansion of the slabs in hot weather and prevent contact pressure between the slabs. Tile spacers are readily available in the following sizes to aid you when laying the slabs:
- 3 mm
- 4 mm
- 5 mm
- 6 mm
- 8 mm
- 10 mm
What tools and equipment do I need for grouting porcelain paving?
- Grout float or squeegee
- Optional: grout application gun
- Washboy or large bucket
- Sponge wash float or tile sponge
- Flexi-tub/bucket
- Paddle mixer or mixer attachment
- Broom (clear dust and debris before you start)
- Garden hose (wash down at the end)
- Tile spacers (used in the previous laying phase to ensure the patio joint width are correct).
What materials do I need for grouting porcelain paving?
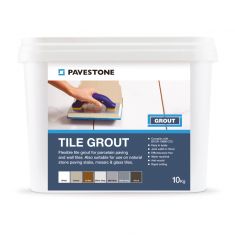
- Exterior tile grout (Pavestone Tile Grout)
- Clean water
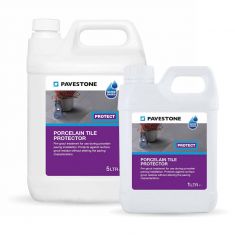
- Optional: Porcelain tile protector (to make cleaning off grout residue easier)
Pointing your porcelain patio paving joints
For porcelain patios, you will need to use an exterior paving grout (Pavestone Exterior Tile Grout).
Most tubs of paving grout come with multiple bags of powdered mix. These allow you to make up smaller batches of grout when pointing your patio. We suggest making up small batches to prevent wastage, as grout will start curing once mixed (especially in hot weather).
1) Make sure the slabs are clean & dry
- Make sure the paving slabs are free of dust and debris
- Make sure the joints are dry (wet joints can affect the curing of the grout and cause discolouration)
2) Mix the grout
- Each bag of grout mix will have a precise amount of water, to which you’ll add the powder.
- Always consult the packing/instructions for the precise amount of water per bag.
- Use fresh, clean water (and a clean bucket).
- Carefully measure your water.
- Pour the correct amount into a mixing bucket or tub and slowly pour in a bag of powder.
- Mix with an electric drill with a mixing paddle attachment, or use a dedicated electric paddle mixer.
- Ensure that the mix is smooth and free of lumps (it should be a thick, creamy texture).
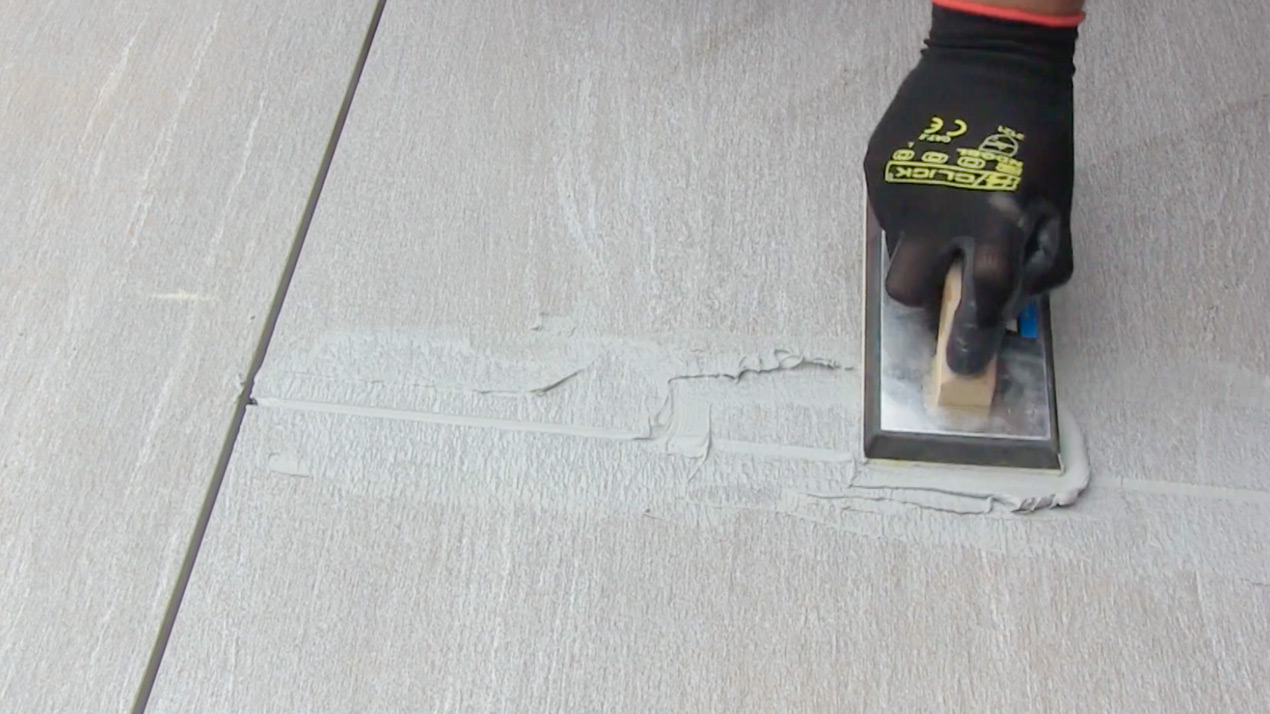
3) Apply the grout, and then clean off the excess residue
- Ensure the joint is dry so the applied grout adheres to the porcelain slabs on either side of the joint correctly.
- Dampen the surface of the porcelain slabs using a tile sponge (without wetting the inside of the joint) – this will help the grout float move more smoothly as you apply the grout and assist cleaning up residual grout on either side of the joint.
- Using a grout float, press the grout into the joint, ensuring it fully fills the joint and smooth with the float.
- Spread and removed excess grout, pushing further down the line of the joint to leave as little residual grout on either side of the joint as possible. Work like this along the line of the joint.
- Clean the slabs – use a tiling sponge or tile wash float to wipe away the residual grout (grout haze) on either side of the joint. You will likely need the grout to harden/cure slightly, so you are not wiping it away from the joint, but you’ll need to start cleaning whilst the grout haze is still easily wipeable (i.e. not cured).
- Wipe away the grout haze with your sponge/wash float at a 45-degree angle to the joint to ensure you don’t catch, smear or excavate the grout from the joint.
- Ensure this cleaning/sponging process is done as soon as the grout has started to harden. You don’t want the residual grout haze setting, so clean and wiped it away as early as possible. Don’t leave cleaning away the grout residue for “later” as it will harden/set and be difficult to remove.
- Consider using Pavestone porcelain tile protector which is a pre-grout treatment that makes cleaning off the grout haze/residue much easier.
If you do find there is residual grout haze on the slabs, we recommend using a dedicated remover/cleaner to achieve this (Pavestone Cement & Grout Residue Remover).