Paving sealers help protect your stone or concrete patio against water or acid erosion by using a water-based impregnating solution. It repels water, liquids, and grime to keep your natural stone from deteriorating, as well as protect it against oil and grease. During cold winter months, when rain, sleet and ice are in abundance, a sealed patio will be less prone to frost or water damage until the spring.
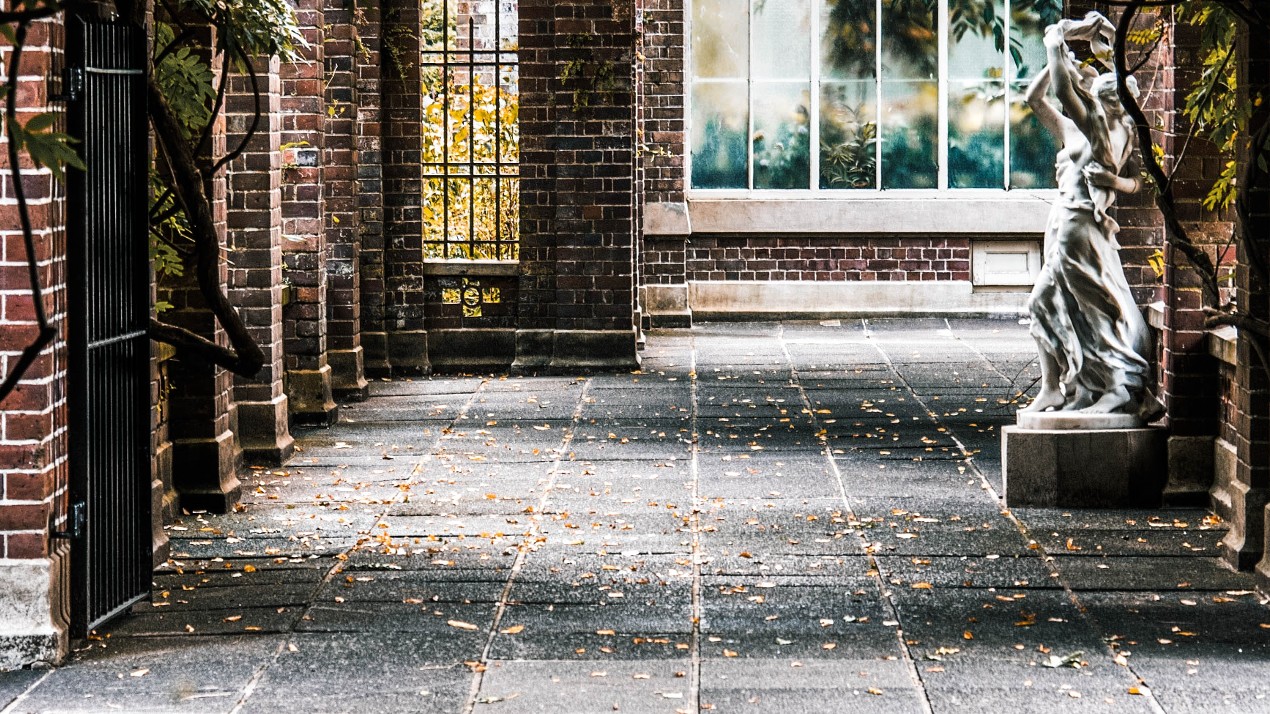
Seal your paving to enhance the quality of your paving
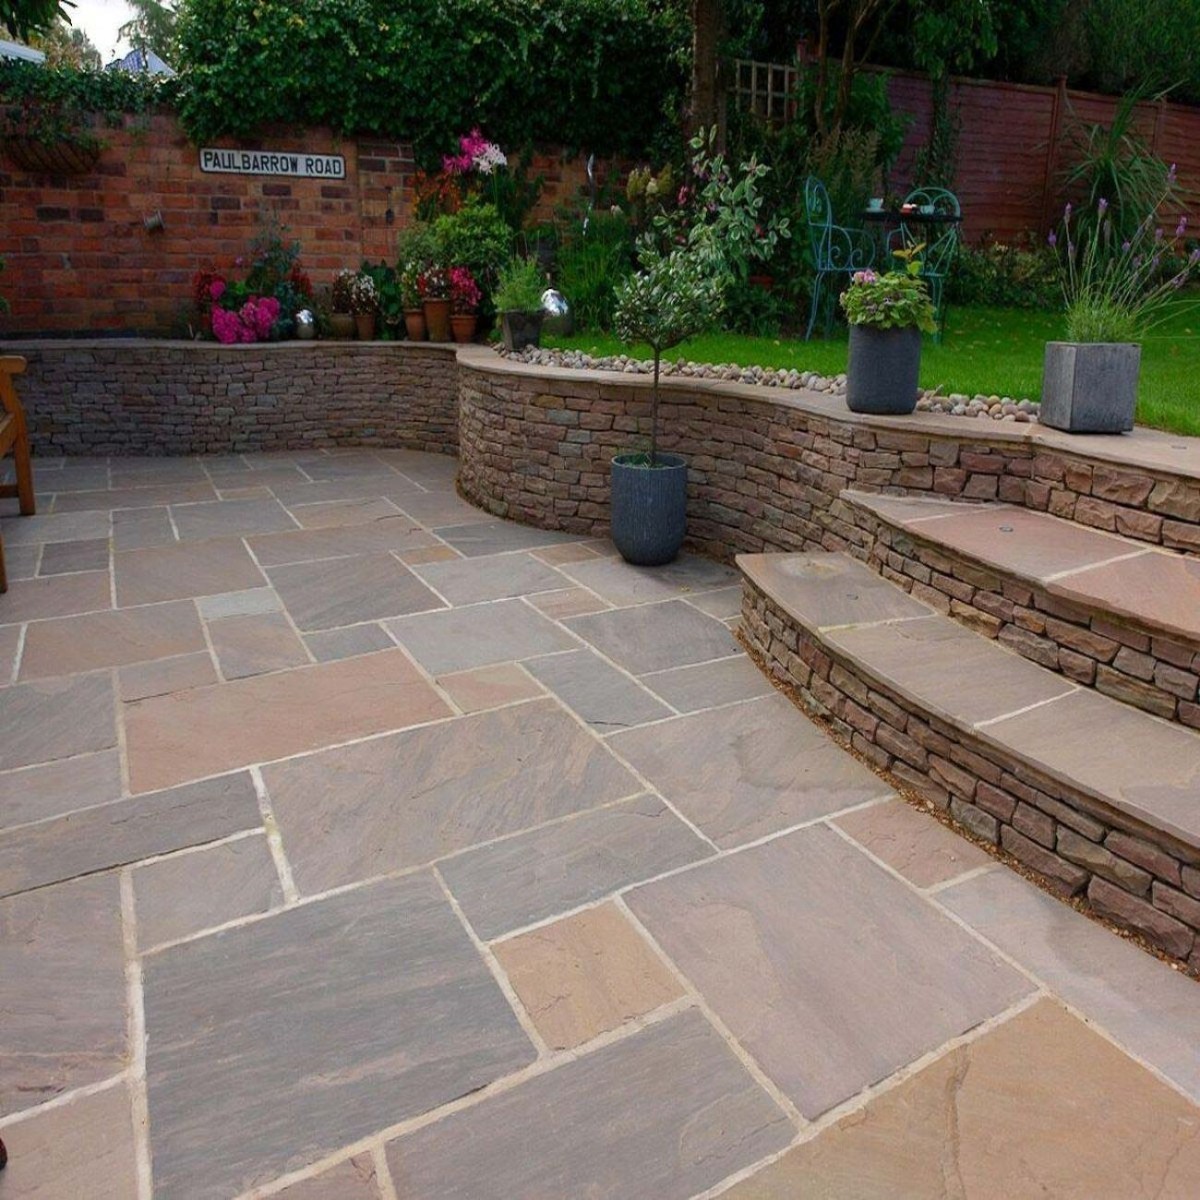
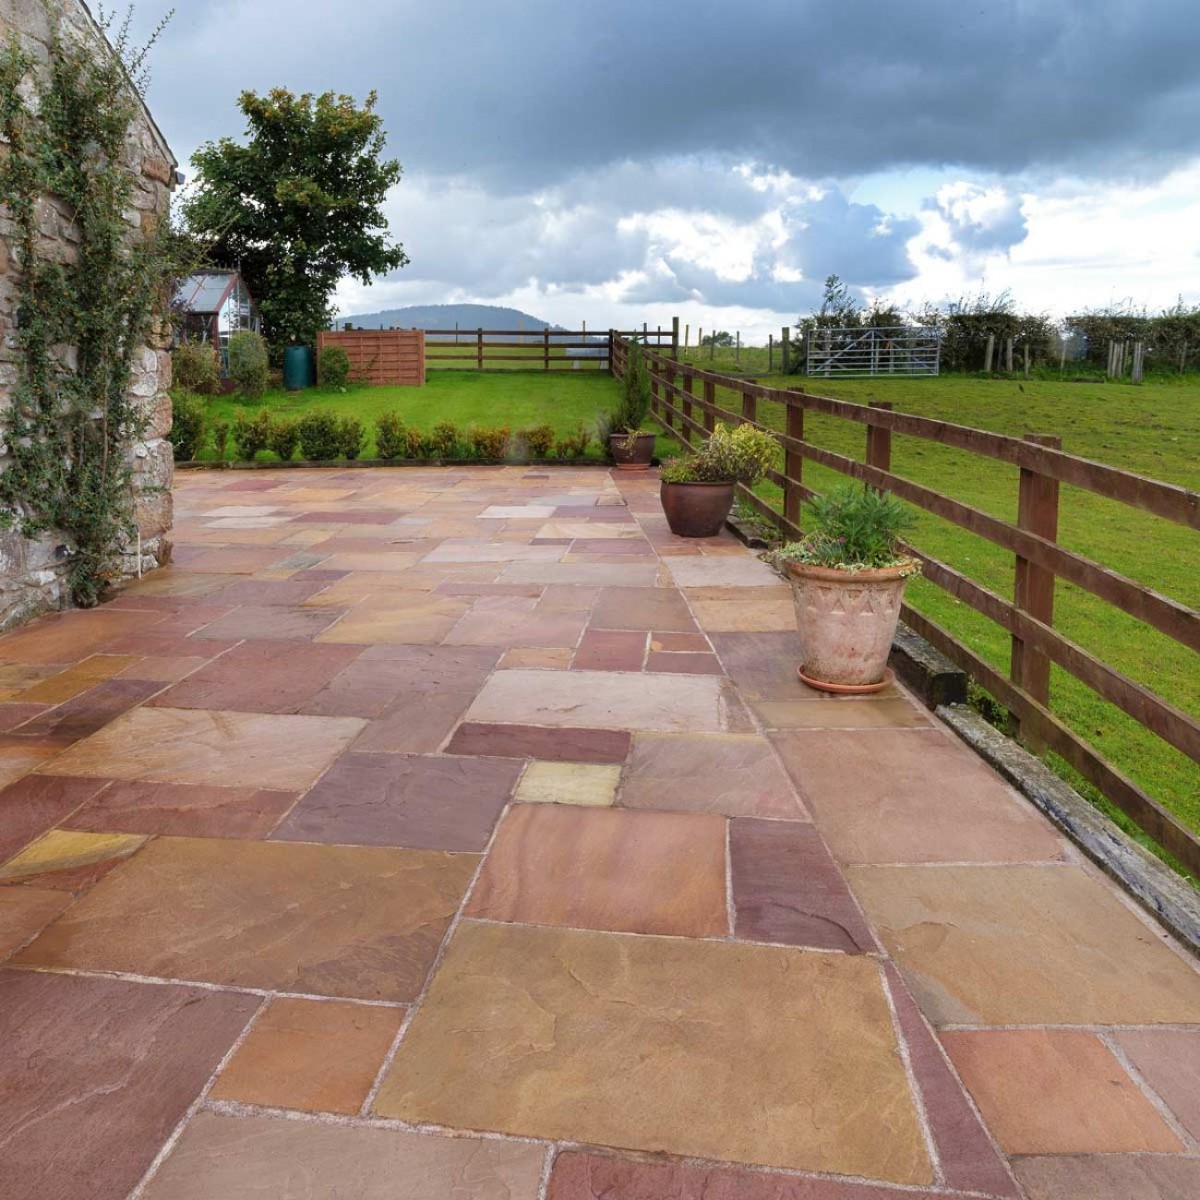
Sealers can enhance as well as protect the natural quality of your stone from the elements. It extends the life and vibrancy of the paving, especially when it comes to a sealer which is formulated to amplify the natural finish of a stone.
How does a stone sealer work?
Where natural stone and concrete have naturally occurring small cracks or fissures, water and other liquids can penetrate the surface and cause acid or frost damage. A stone sealer ‘impregnates’ these fissures, filling in the gaps that would otherwise permeate the stone. It forms a protective layer that resists water and debris, leaving the internal elements of the paving slab or block intact.
With regular use and proper maintenance with stone sealer, a paved area can look as good as new for many years.
Step 1: Prepare your patio or driveway for sealing
The better you prepare an area for sealing, the more protection the sealer will provide for your paving. Paving slabs will be more secured against the elements if the sealer has been evenly coated without interference from debris or other chemical processes.
To prepare the area:
- Do not seal immediately after installation. If you apply the sealer too soon after the paving has been laid, the sealer may be undermined by the bonding materials. Jointing compounds and grouting must be fully set and dried before you apply sealing, otherwise debris and chemicals will interfere with the sealer.
- Thoroughly clean the slabs. Any dirt or debris will reduce the effectiveness of the sealer and cause problems later on. Use an appropriate paving slab cleaner to clear off grime, stains and anything else that is unsightly.
Step 2: Get the right sealer (and the right amount)
There are different sealers which can be used for different purposes. Be clear about which one you need before buying, and think about what your paving requires to look its best through rain or shine:
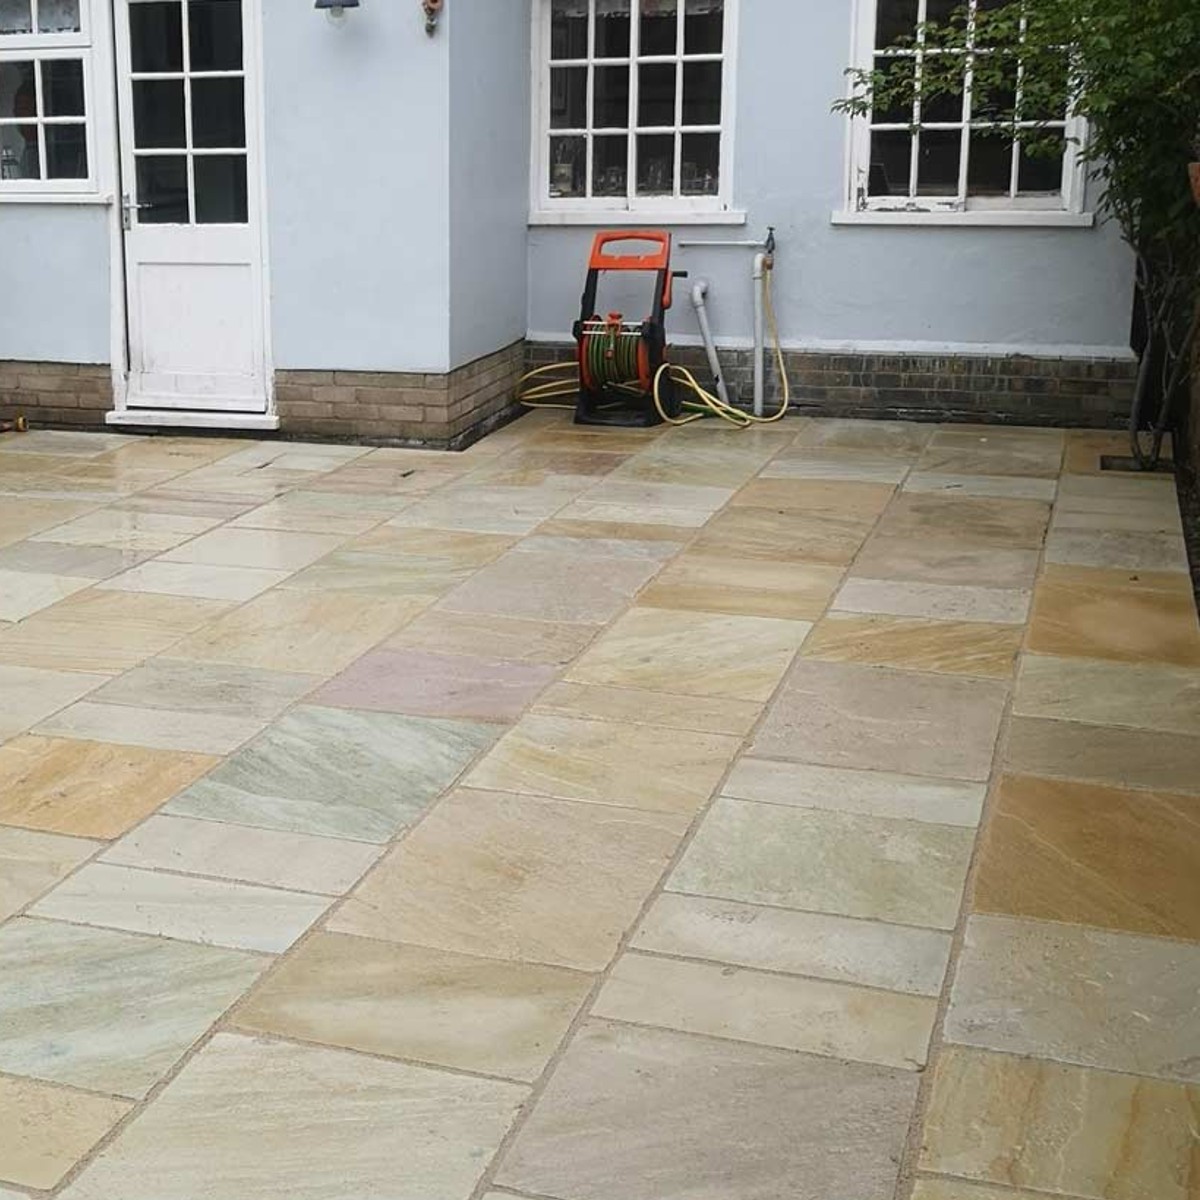
A natural finish stone sealer is created to enhance the intrinsic quality of stone and concrete paving. While it has some colour-enhancing features, it is made to maintain the visual appeal of your paving without altering its natural features.
A colour-enhancing stone sealer is formulated to bring out the most vivid colours of your paving slabs. It mimics the effect that water can have on stone by darkening and intensifying the natural colours.
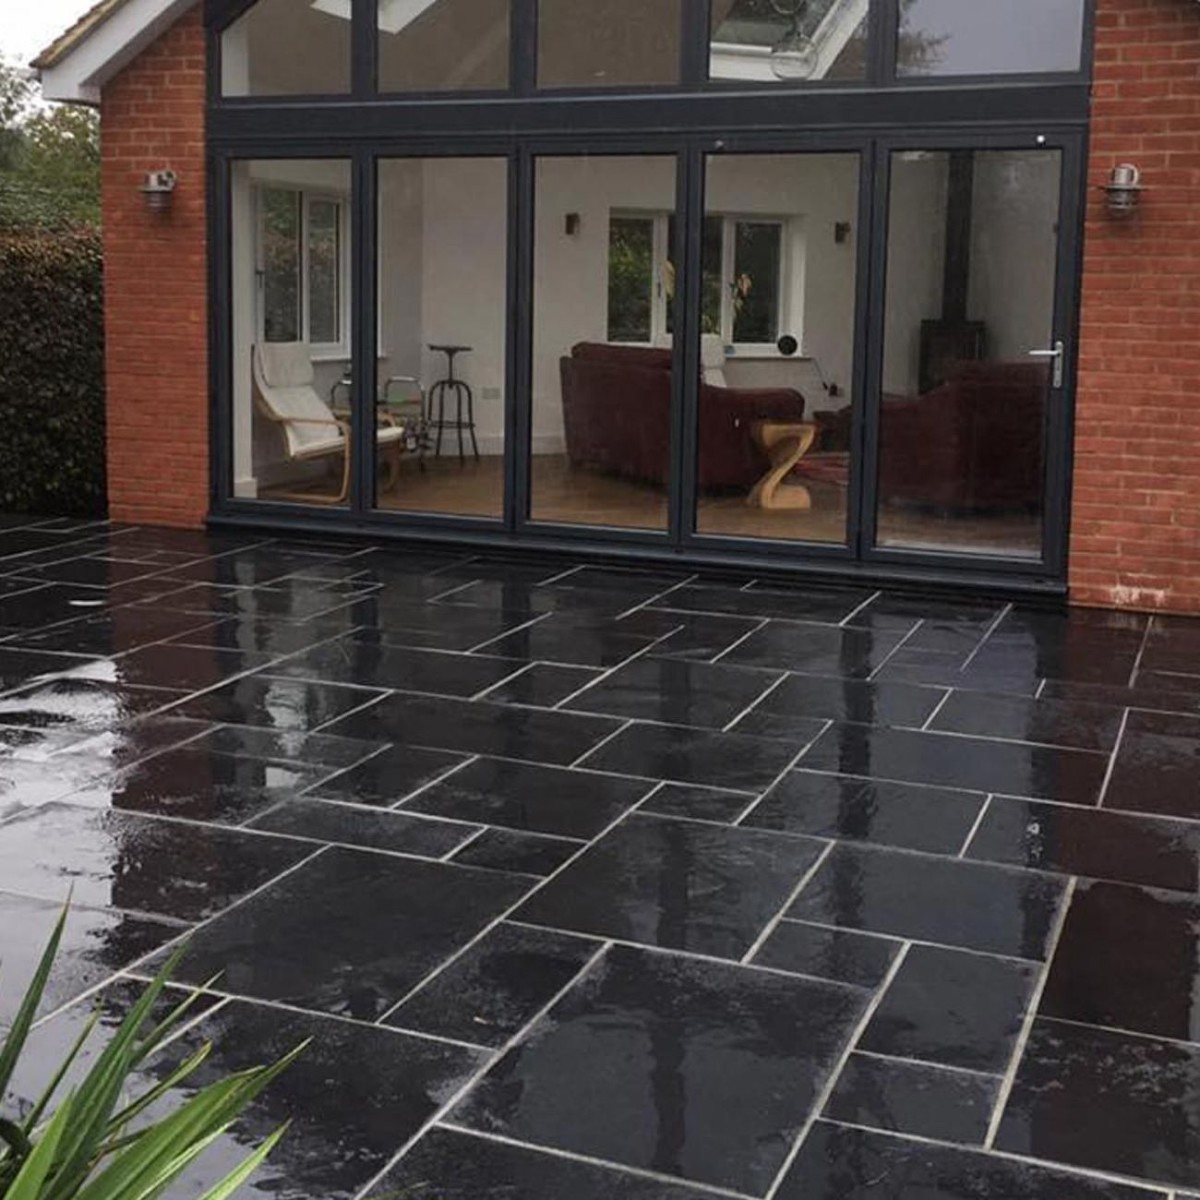
Black stone sealer guards dark stone against the bleaching effects of the sun. It not only protects against UV but also rejuvenates darker pigments, similar to how stone darkens when it is wet.
The type of surface will affect how much of each sealer you will require. Since sealer is designed to fill in the cracks and fissures of a stone slab to protect it, the more honed and smooth a surface, the less sealer it will need. Conversely, a more porous stone will require more sealer.
Our coverage guide is as follows:
| Paving Type | 1 Litre | 5 Litre |
|---|---|---|
| Honed surface | 30m2 | 150m2 |
| Medium porosity surfaces | 15m2 | 75m2 |
| High porosity surfaces | 7.5m2 | 37.5m2 |
Step 3: Ensure the weather is optimum
All stone sealers require the right temperature and weather conditions to work their best.
Extremes of heat and cold can undermine the effectiveness of the sealer. It is recommended that you apply sealer in temperatures between 5° and 25°.
It is best to avoid sealing your slabs when it is raining or overly windy, too. Rainwater will disperse the sealer, and high winds will blow dust and debris.
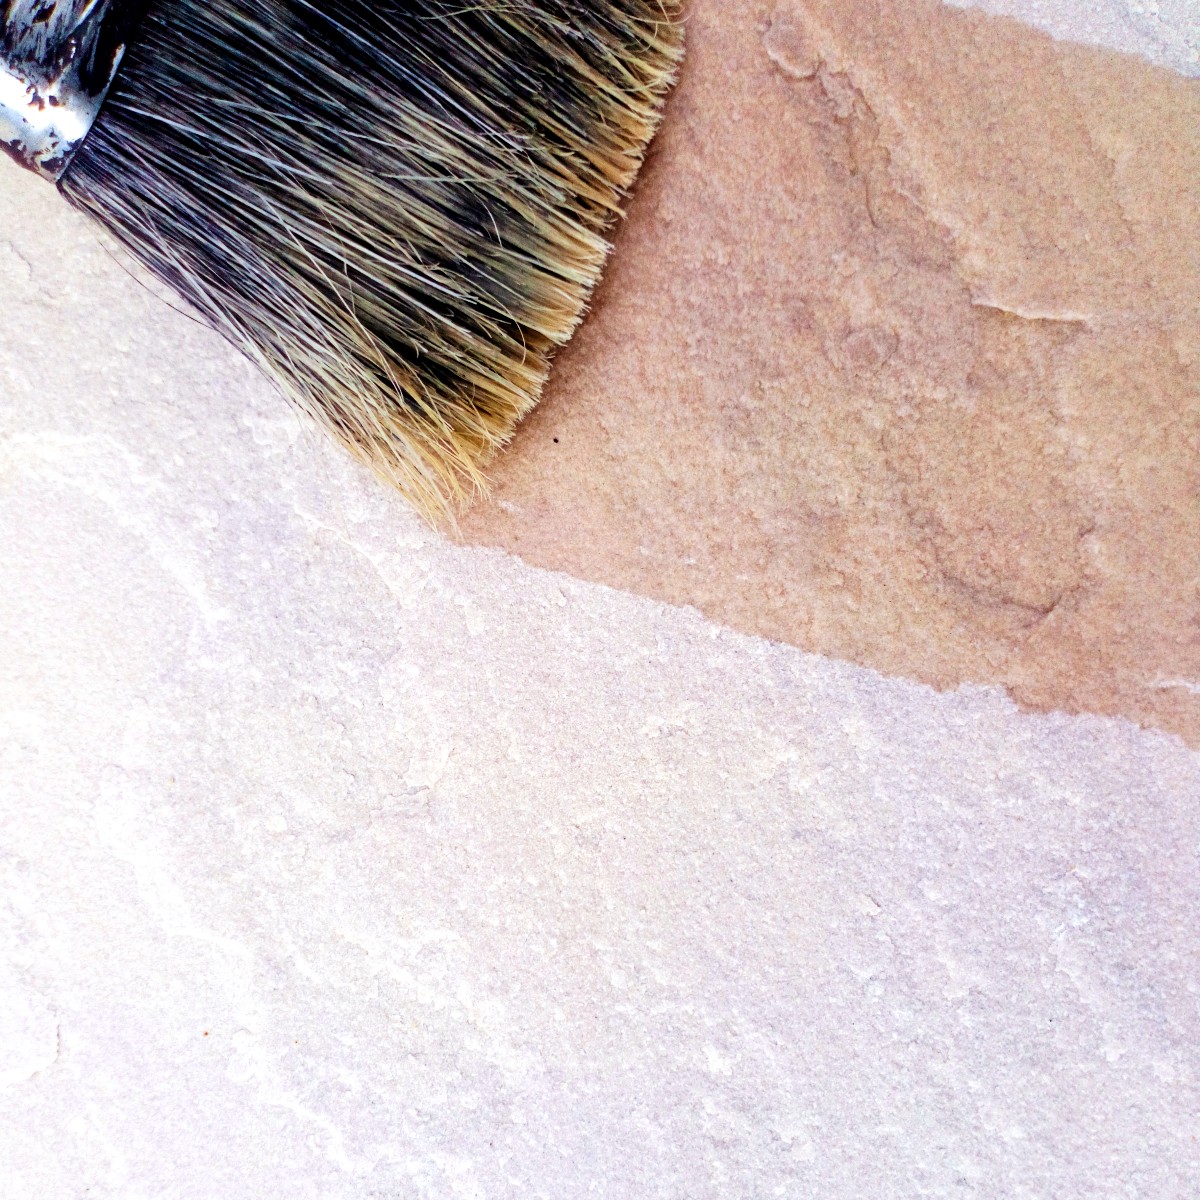
Step 4: Test the sealer on an inconspicuous area before starting work
It will be difficult to remove the sealer once it has been set, so start by testing it out first. Choose a section that sits comfortably in the colour spectrum of your patio. Take a small brush and apply it to your chosen sample and let dry so you can see how the sealer will affect the colour.
Step 5: Apply the sealer
Now that you are sure you have the right sealer, the right amount, the right conditions and a clean, debris-free patio, you can begin to seal your paving.
It is a good idea to have a natural fibre brush on hand for any touch-ups needed, and ensure that you have protective clothing, especially gloves.
You can use a brush, sponge or foam roller to saturate the paved area, but for a more even coating, we’d advise you to use a pump sprayer.
Let the first coat dry for up to an hour, and repeat the application until you have the desired look. More absorbent stone will require more coats, so refer to the coverage guide in step two.
Continued maintenance
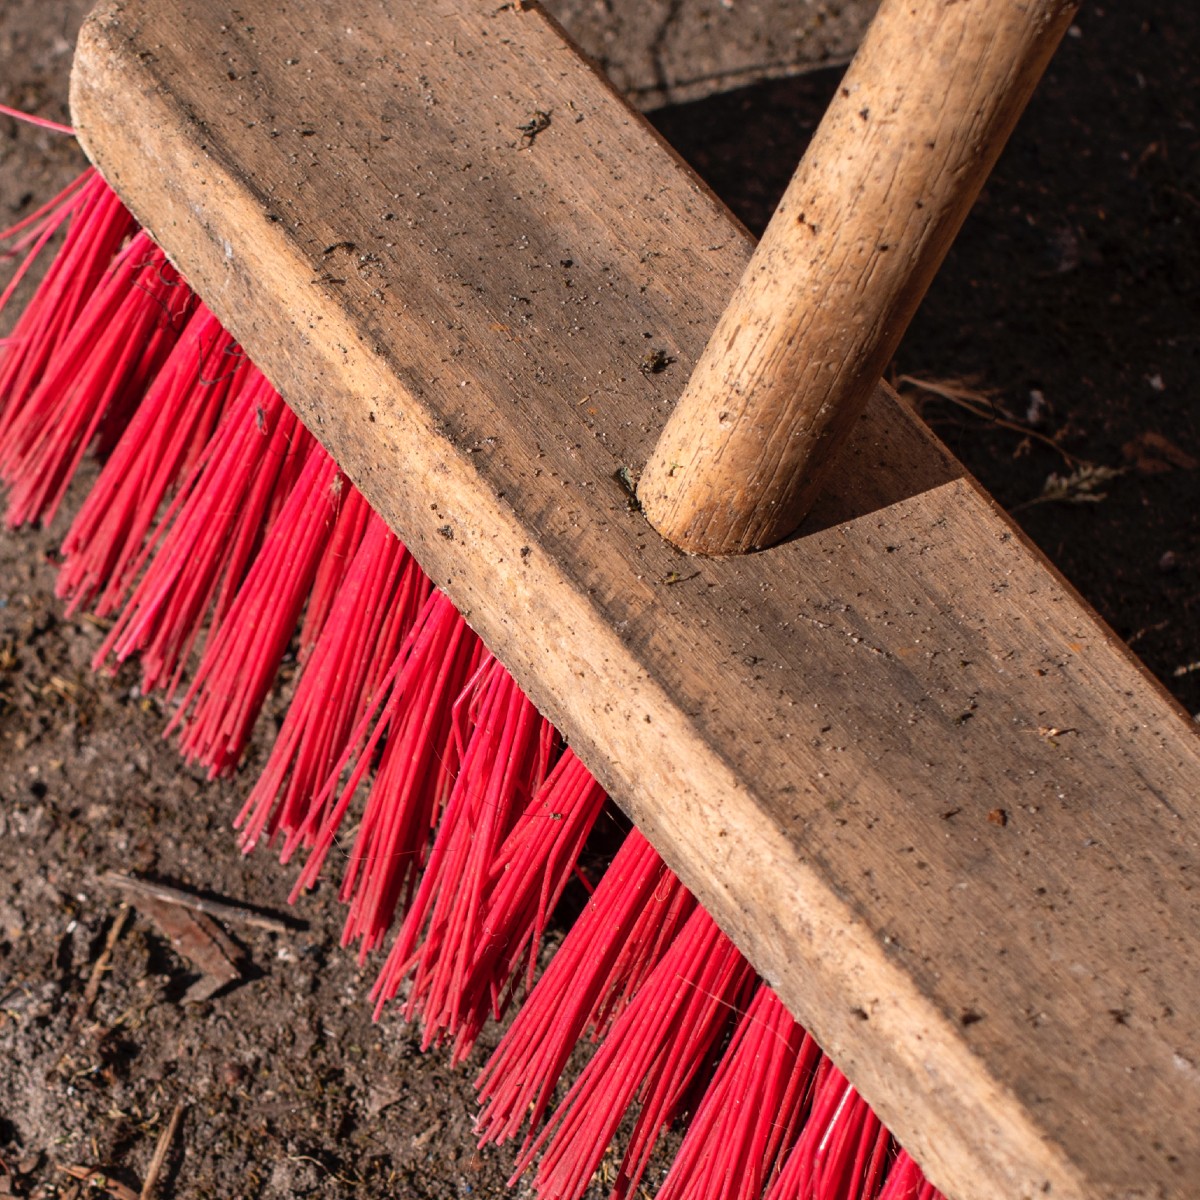
A single application of stone sealer will last for a long time, but it is still important to take proper care of your patio to ensure it looks its best. Brush away leaves and garden detritus regularly, and be sure to clean up grease and liquid spills.
Be aware that heavy footfall and abrasion can impact the effectiveness of the sealer. After about 18 to 24 months, if your paving is not still looking its best, reapply the sealer to restore its colour and vibrancy.