In this guide, we will show you how to point concrete and natural stone patio paving joints using an easy to use, brush-in two-part epoxy based jointing compound. Pointing the joints of your patio is an important step to ensure you protect the underlying bedding course and sub-base, and also to provide a proper finish to the patio and give it the right visual appeal.
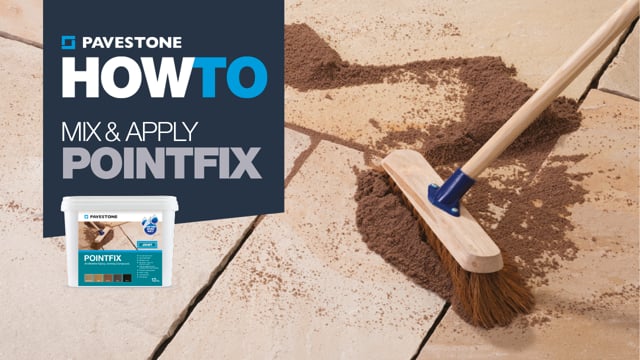
Video guide: How to point your paving with jointing compound
Problems with older methods of pointing paving
Prior to the invention of jointing compound, there were two methods generally used to point paving, each with their problems and issues:
- Sand Pointing (NOT RECOMMENDED) – whilst allowing the joint to expand in the summer heat, sand allows water to penetrate the joints into the laying course and encourages burrowing insects/animals and vegetation growth in the joints.
- Mortar Pointing (NOT RECOMMENDED) – pointing with mortar cement is time-consuming, can be messy, and the joint will be less flexible and more susceptible to cracking and coming loose. Once it cracks and becomes loose, ingress of water can damage the patio. Likewise, loose mortar encourages burrowing insect and vegetation growth in the joints.
It was these weaknesses that led to the invention of jointing compound to solve and address these issues.
Why should I use jointing compound to point paving?
Jointing compound solves many of the inherent weakness of the deprecated methods introduced to patio pointing.
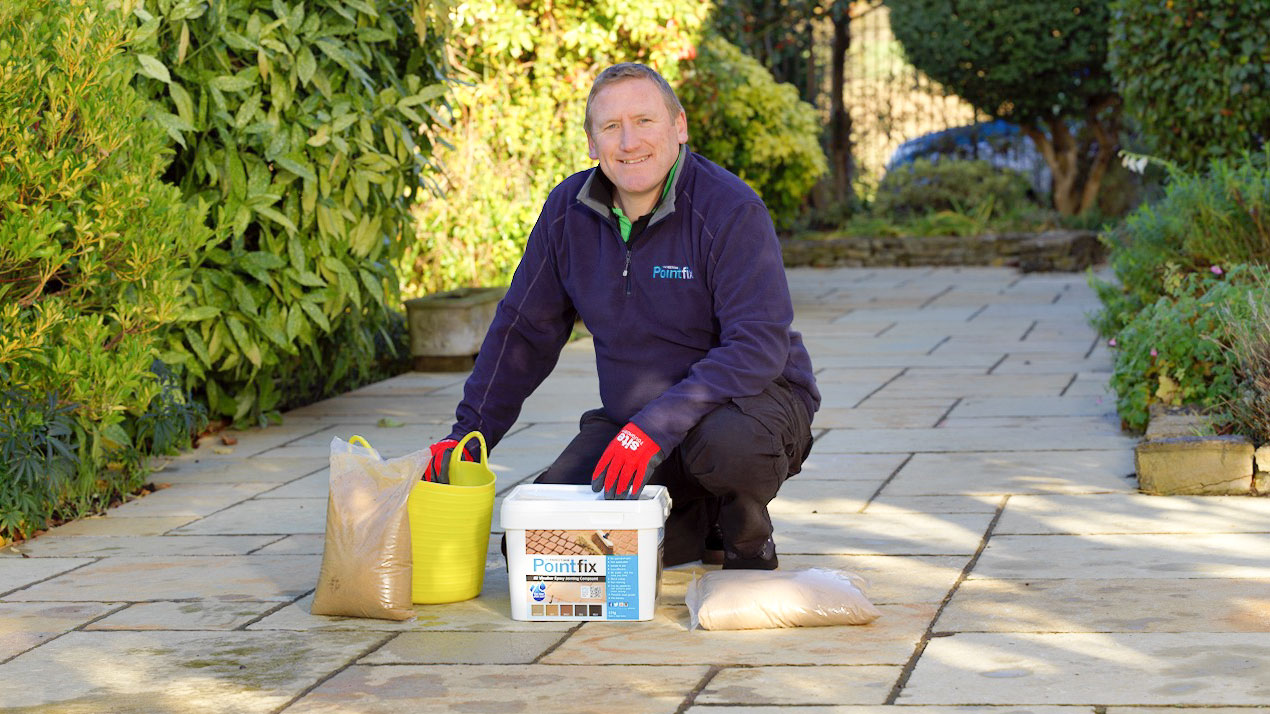
Our jointing compound, Pointfix is a two-part epoxy jointing compound designed to replace traditional sand and mortar pointing. The main advantages it provides are:
- Flexibility – the material will flex, allowing paving to thermally expand. This also prevent it from easily cracking and becoming loose.
- Waterproof – when cured, it will prevent water passing into the joint.
- Can joint in wet or dry weather conditions (does not matter if it is raining).
- Very easy to install/apply – no specialist tools
- Brush in and brush off
- Suitable for natural stone and concrete paving, blocks, cobbles, setts and bricks
- Pet friendly
- Quick – fast application and finishing with quick curing
- No Waste – only mix what you need
- Non-staining – does not leave stains or colouration on paving
- Prevent weeds – inhibits weed growth in your paving joints
- Prevent burrow insects – inhibits insect burrowing through the joints, under your paving, loosening the slabs.
What tools and equipment do I need to point a patio with jointing compound?
- Trowel
- Pointing tool
- Flex-tub/Bucket
- Soft Broom
What materials do I need to point a patio with jointing compound?
- Pointfix or an equivalent jointing compound.
What width should the patio joints be?
The minimum joint width needed to allow for thermal expansion and protect the edge of the slabs is 3 mm. However, for most natural stone and concrete slabs, the width best suited will tend to be between 6-15 mm. For a detailed breakdown on recommended joint widths, see our guide How wide should my patio joints be?
How to mix and apply patio jointing compound
Here are the steps you need to follow to point your patio or paving with a jointing compound:
- Mix the two part mix in equal quantities
- Thoroughly mix in a tub/bucket until the colour is uniform and consistent
- Trowel and brush (us a soft broom or brush) the mix into the joints, so they are fully filled
- Use a pointing tool or brush to achieve the right depth and finish to your jointing.
- As the mix starts to cure and harden, brush off excess material.
- Once the jointing compound has set, you give the paving a final sweep to brush off any last particles.
